Find the entrance to the mines
Leaving your Fort Jericho camp, take the mountain road (east) and use the previous cable car to reach the entrance to the mine where you found Helen. But don't go into it and instead continue the path on the left (north) past the waterfalls. After the second, you encounter a mark to reveal a Elite.
Go down a nearby floor and destroy the planks on the right to pass through a rock gap and come out on the other side. Use Antea to propel yourself to the other side of the precipice using the jump point then enter the gallery located a little further away, by blowing up the wall, to chat with Sebastian's ghost before taking the elevator which will take you waits.
Advertisement
Find the source of the wraiths' anger
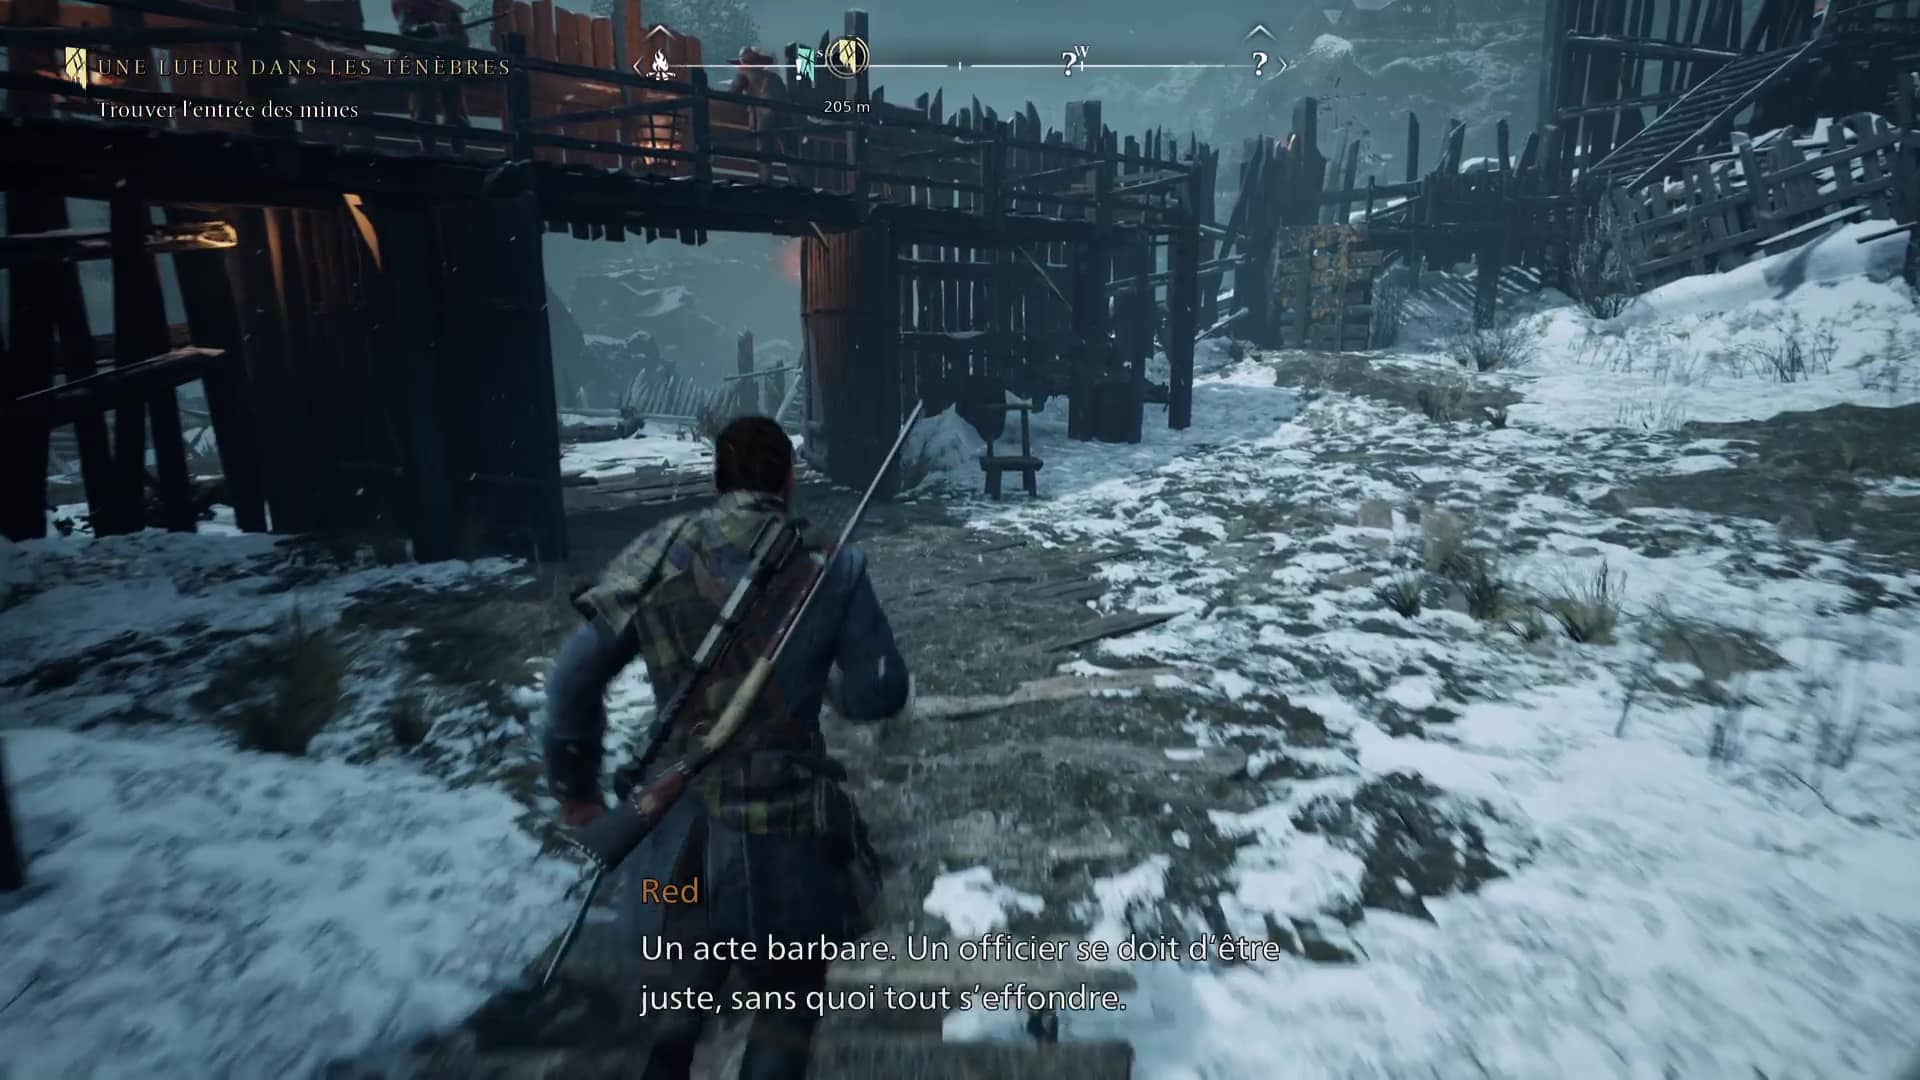
When you reach the bottom, shoot the boxes in front of you and jump to the other side of the hole. Continue down one floor to join Antea and Sebastian and continue together. A little further on, explode the destructible wall using Antea and eliminate the specters that welcome you in the next room. Then head northwest and go down until you reach the old mine furnaces. Approach the cauldron and listen to the echo of the former miners then try to activate the elevator located to the north of the room.
At this moment, a specter will destroy the barricade behind you. Eliminate all enemies that appear, taking care not to be hit by the spikes emanating from the ground, and inflict heavy or ranged attacks to counter the parry of the superior specters. Once everyone is down, take the freed passage and follow the mines until you reach a larger area leading to various rooms.
Here you will find a campfire and a lost chest giving you the Blackbelly rifle. But further to the northeast, take the path after the barricade to cross to eliminate new specters and continue to reach further into the central cavity of the mine.
Find the entity hiding in the mine
Go down near a metal chain and take control of Antea to see a red link, it is a weak link that you will have to destroy with Red's weapon. Once this is done, eliminate a few enemies that appear, including an Alpha Glutton, a very agile, fast and devastating enemy type. Use Antea's powers to knock the creature down, then rush in with Red and his heavy attack to triumph.
Advertisement
Once this is done, go to the wall on the northeast side and examine the mark. Note that you will find an echo not far away on your right. Pull the link at the end of a small path on the west/northwest side then go up to the left. Destroy the planks against the house, move forward and look up to find a destructible wall thanks to Antea. Just behind is a link to destroy.
Return near the mark and spot a push cart. Just behind the nearby chains, a new link can be destroyed. Then, move the cart forward to the plate that can turn, then activate the nearby lever to make it turn. Continue to push it until you reach the high platform. Use Antea's powers to erase the spectral web holding the mechanism then go back down and open the now accessible back door.
In the next room, push the minecart onto the turntable and spin it. Push it until you reach a ledge above and climb upstairs. Take a left after the cavity and drop the rope allowing you to go back down. At the bottom, take the cart back to where it came from and continue to push it to the elevator at the end of the tunnel. Then use the rope to go back up and go to the other side to activate the elevator and raise the minecart. Finally push it to the next bridge.
There, go down one floor and pull the tether located under the bridge to lower it. Then pass the precipice with the minecart, reveal the echo nearby and go to the end of the rails to be able to climb on the minecart and reach the ledge located further to the right. Move forward in the tunnel and once on the other side, pull on a new link allowing you to reach the rebel camp.
Eliminate the enemies that appear, reveal the echo on the ground floor then climb upstairs to examine the document indicated on the table before going back down to confront Sebastian who flees precipitately after your conversation. After chasing him, go down to find the central room of the mine. Now head northeast and advance through the new accessible tunnels until you find a new group of chains after destroying a wall with Antea.
Look down to the northeast to find a link to destroy then continue on your way to the jump point. Once on the other side, go through the opening and jump towards the southeast before going down the stairs to the next bridge (note that a Altar of the Invisible is behind a wall before going down the stairs). There, go to the right and break the rocks using Antea's powers and reach a link below your position. Retrace your steps and cross the bridge that is now freed to further discover Sebastian's body and many revelations.
Continue your route through the underground gallery on your right and pull on the link that you can see in the precipice in front of you to clear the way. In the following room, eliminate the specters that greet you and use the elevator to go down and pull on a chain to free a tunnel further on. Keep moving forward until you find a campfire. Rest before going to reveal an echo located on a chain to the southeast and another to the north of the room. Continue towards the north and follow the only available path to come across the infamy that occupies these places, the Puppeteer.
Fight against the Puppeteer
The fight against the Puppeteer will be composed of three distinct phases:
- During the first phase, you will have to wait for the revelation of several fragile links of the creature. To do this, as soon as the chains light up blue, use Antea to locate the link in question and shoot it with Red's weapon as soon as they turn red. Repeat the operation several times then when prompted, banish the creature once. A little advice, don't get too close until the creature is down.
- From then on, you will have to work in the dark towards multiple rooms where Antea could be locked up. Normally, after several failures and confrontations with specters, you will find the one of your heart and will be able to continue the fight according to the same methods for these phases 2 and 3. Be careful of the areas where stones will fall from the ceiling, as well as attacks of the puppeteer emerging from the ground and her acolytes.
As soon as you have banished the Puppeteer three times and destroyed a total of 10 weak medallions, the fight ends, allowing you to breathe a little.
Confront Pennington
Freed from the creature that haunted the caves and holders of Deborah's fetters, move forward and climb the wall. At the top, use the elevator to go back to the surface. There, go through the next gap and move forward to magically find yourself behind Pennington's office, which you will have to confront during a new Obligatory Haunting Case.
- If you choose toSpare Pennington : the man will be able to remain the ruler of Fort Jericho and Helen will be thrown in prison. You are thus acting in favor of Antea's ascension.
- If you decide to Sacrifice Pennington : Helen will replace Pennington as ruler of the Hold and allow you to move forward in the direction of Antea's resurrection.
Whatever your choice, you are now free to go and rest within the shelter of the fort to complete the quest and unlock a new power (Trap Or Merger depending on your quest resolution order).
If you have not yet completed the Hameau des Herses quests, you will need to do so before continuing, as well as complete the quest that links these two paths, Pain and resentment. If you have already done these quests, you will head towards the island of Siridean for the quest The path of love.