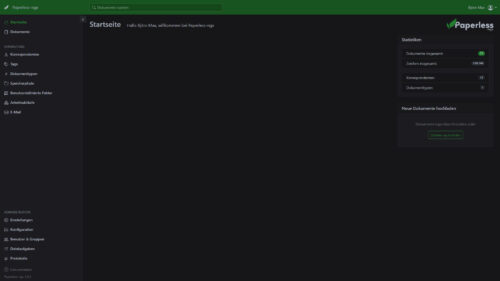
The topic of digitalization is (finally) being addressed more and more frequently in Bundestag discussions. This development also reflects my personal ambition to manage documents and files paperlessly – an undertaking that was sometimes more, sometimes less successful. A key criterion for me is the OCR function, which makes it possible to make the digitized documents searchable. For this reason I decided to use paperless-ngx. Installing the software via Docker is quick and easy. Additionally, Watchtower's integration into the Docker stack offers the ability to perform software updates automatically, virtually eliminating maintenance effort for the user.
What is paperless-ngx actually?
Paperless-ngx itself is a document management system – DMS for short. The developers describe it GitHub as follows: “Paperless-ngx is a document management system that transforms your physical documents into a searchable online archive so you can store less paper. Paperless-ngx was forked from paperless-ng to continue the great work and distribute responsibility for supporting and developing the project among a team of people.”
Advertisement

This is how the installation of paperless-ngx works
In this variant, paperless-ngx is installed and managed using a Docker stack. Configuring and managing paperless-ngx can be done in two ways: traditionally using one docker-compose.ymlfile or through management tools such as Portainer.
The next step involves creating the required directories. This is done through the command mkdir, in which case the folders are created in the home directory. To avoid error messages, the file paths in the configuration must be adapted to your own system.
services: paperless-ngx: image: lscr.io/linuxserver/paperless-ngx:latest container_name: paperless-ngx environment: - PUID=1000 - PGID=1000 - TZ=Europe/Berlin - REDIS_URL= #optional volumes: - /home/bjoern/paperless-ngx/config:/config - /home/bjoern/paperless-ngx/data:/data ports: - 8050:8000 restart: unless-stoppedThe initial commissioning of the Docker Stack can take some time depending on the hardware performance and internet speed. After the container has been successfully started, the login screen can be accessed via the URL http://ip-adresse-des-hosts:8050/. By default, the login details are set as “admin” for username and password. The link http://ip-adresse-des-hosts:8050/admin/ takes you to the administration interface, which offers options for changing the user name and password. Additionally, the platform offers advanced features including “Paperless Email”. The integration of IMAP accounts into the paperless-ngx system makes it possible to automatically store incoming documents directly in the archive. This feature is particularly beneficial for businesses and freelancers, especially when invoices are received via a specific email address.
If you don't feel comfortable setting it up manually, you can also use the automatic installation script. I also had good experiences with this in a Proxmox VM for testing. To use paperless-ngx, all you need is a functioning Docker environment.
Advertisement
bash -c "$(curl --location --silent --show-error https://raw.githubusercontent.com/paperless-ngx/paperless-ngx/main/install-paperless-ngx.sh)"
Regardless of the method you choose to set up paperless-ngx or another document management system (DMS), developing your own backup strategy is essential. Securing data is a critical aspect that ensures information remains available even in the event of a system failure or other unforeseen event. An effective backup strategy not only protects against data loss, but also makes recovery easier in the worst case scenario.
