Collect the third hyper cell
Before entering this dungeon which is located in the middle of the Great Desert area (you won't be able to miss this oval shape), you will have to pass a test again by fighting a guard. Nothing difficult here, except it's a difficult enemy to destabilize to the extent that his posture gauge goes up if you don't counter all his attacks perfectly.
Then enter the dungeon via the elevator and progress in the first corridor. Pay attention, from the first door, monsters hide behind large crates, ready to ambush you. You will then arrive at the first camp.
Advertisement
You will then have to show a little agility to cross the area filled with saws just waiting to cut you up. Start by going to the right of the room to climb onto some ledges. Once back on the ground and in front of the saws, you must follow the clearly visible yellow traces to the ledges which allow you to continue moving forward.
You will see the source of the infection further away, with yellow pustules to pull on to stop the saw mechanism. Before leaving the room, explore the area to find resources.
After a rest at the next camp, you will enter a corridor with three branches. Start with the one farthest to the right which will take you into a room with a laser trap which will engage. Kill all enemies by jumping over the spinning laser, and collect planetary diving suit outfit (3). Be careful when leaving the room, new Naytibas are waiting to attack you by surprise.
Once in the corridor with three branches, take the path that goes straight. You will be blocked by an orange crate to move, with another Naytiba which will surprise you (you will have to get used to it in this dungeon). Enter the room and kill all the Naytibas before pressing the button which will open the door to the last junction.
Advertisement
Once you have passed this door, being careful of the monster that is there when you open it, you will arrive in a large room filled with capsules. Several Naytibas are there but don't worry about them: rush towards the exit, being careful of the platforms that collapse under your weight.
The following path is quite linear with rooms in which the passage to be taken opens by pressing a button, until you arrive in the Underground Passage. You will see Naytibas stuck behind a glass, which must be lowered using a button in the nearby room. Then return to this corridor and cross it while shooting everything that moves, since many Naytibas will tumble.
Further on, another room filled with lasers awaits you. Walk onto the beam in front of you and drop down to avoid the lasers, then jump onto another beam lower down. Then simply follow the path of the beams while being very careful with the lasers, until you land on the other side of the room.
Before leaving this room, you will see an elevator hatch to the right of the exit with ledges that will help you climb to a chest. Then go back down to enter the ruined Laboratory.
Once in the laboratory, turn left and follow the path, running on the walls then climbing the scaffolding. Before jumping on the ledges visible in the second image below, jump to the left of them to find a combination chest.
Then climb these ledges and continue until you reach a destroyed bridge. On the other side is a rope to deploy if you ever fall, but otherwise, go left to see some drones that serve as platforms. The one to take to go straight will let you continue on your way, but you will also see another one to take to take you past a chest.
Then use the correct drone to get to the other side and simply follow the yellow markings on the ground to exit the laboratory, while scanning the area for a chest just before the exit.
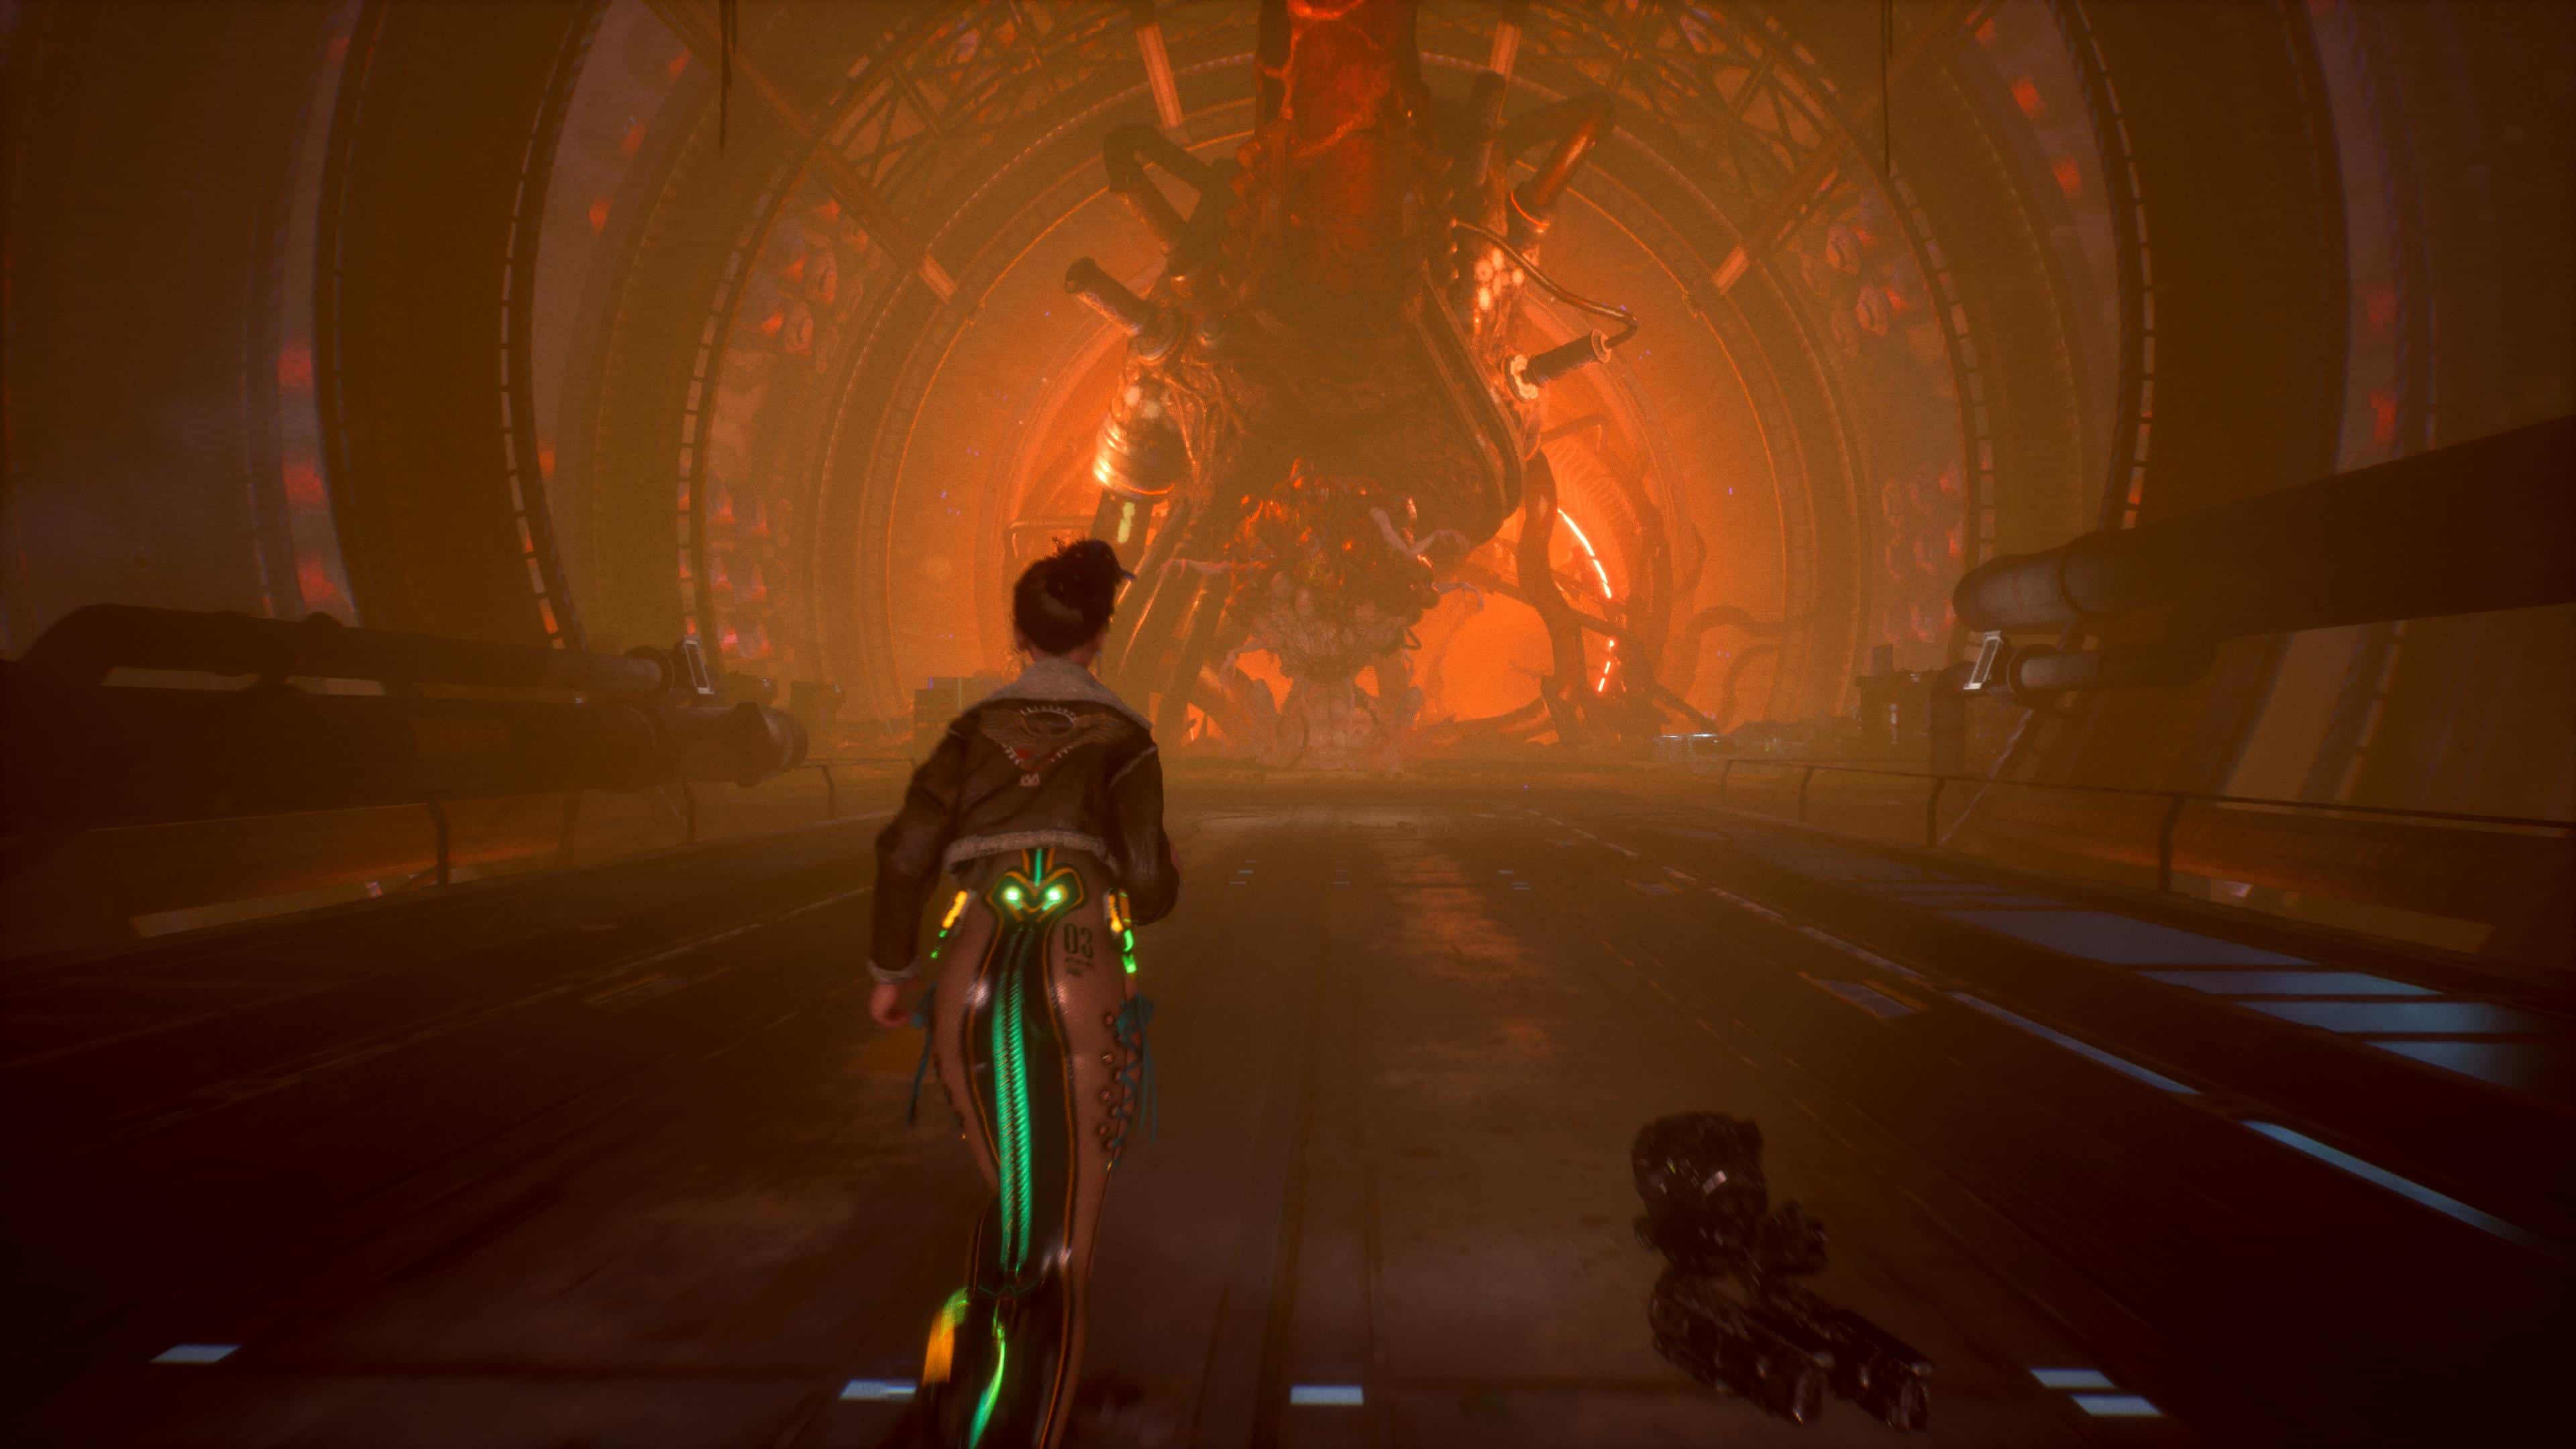
Boss: Maelstrom
This boss is pretty much the same as the previous dungeon, except it hurts a little more and its attacks are even bigger. Just aim for the yellow pustules as soon as possible and reload your bullets by destroying the crawling bodies on the ground.
Once the boss is defeated, you will obtain the Bronze “Fosse de Levoire” trophy. Collect the recording to complete this mission.
To learn more about Stellar Bladedo not hesitate to consult our complete guide.