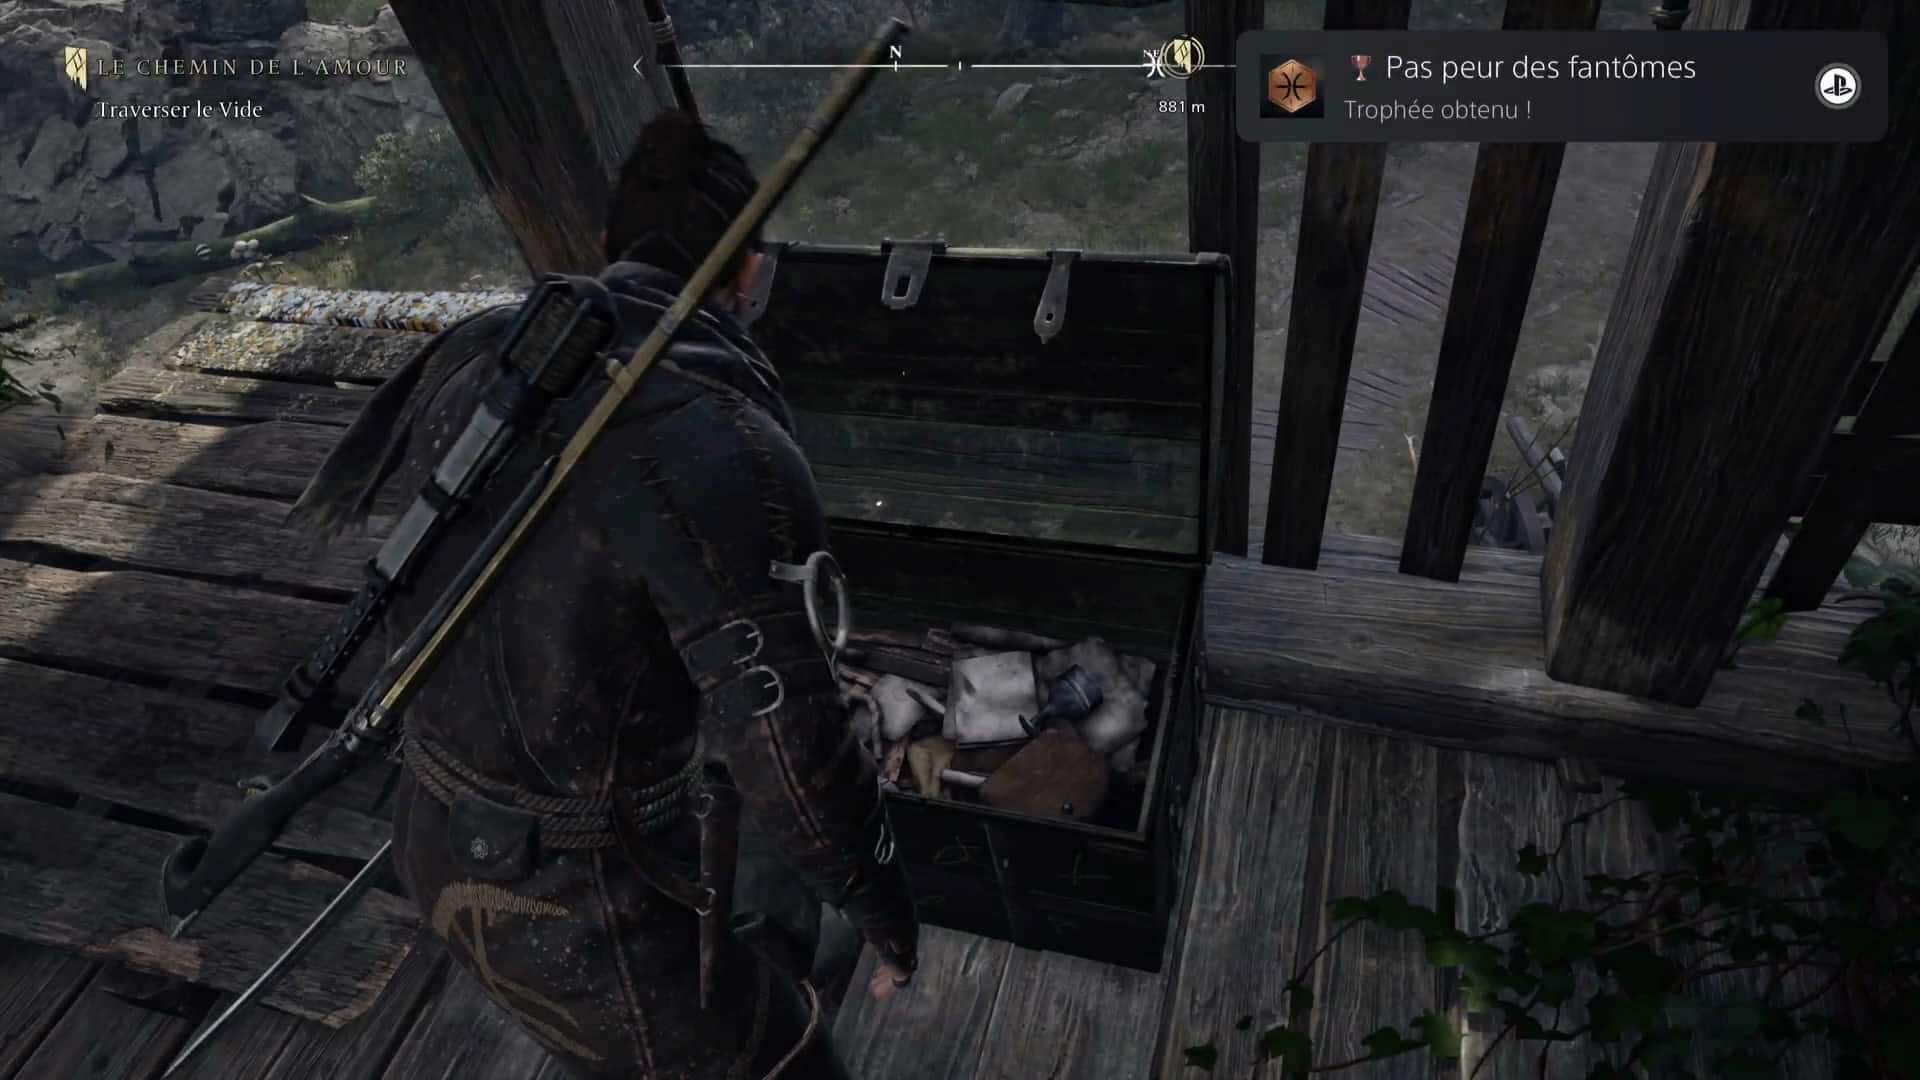
It exists 4 Haunted Lands In Banishers: Ghosts of New Eden. These are enclosed places, resembling large life-size puzzles and in which you will have to carry out mechanics in a precise order to triumph and open a chest containing high-level equipment. Here are our detailed guides for each of these Haunted Lands, which once solved will allow you to obtain the Not Afraid of Ghosts Trophy🏆.
Corrupt Canyon
- Location : Northeast of the Dark Woods, near the High Cavern shelter
- How to access it: Breaking rocks with Antea's powers
When you arrive in the area, head northwest and use the jump point to reach a collapsing walkway. Jump opposite then go east and go down one floor. Look in front of you to notice a Ghostbuster, then take a few steps forward and look to the southwest to notice the presence of a second Ghostbuster. Once done, go straight ahead and turn left towards the northeast. Look up to the northwest to notice a tether to destroy to reveal the presence of the third Ghostbuster.
Advertisement
Then head southwest and use the jump point with Antea to arrive in front of an insidious ivy. Open his heart and head towards the northeast to find a will-o'-the-wisp further on to destroy. Turn to your right (towards the south-east) to destroy the second and free the passage. Follow this direction and go back to the top to gain access to a small passage on the left. Then use the jump point to reach the heights and recover the Triple Resilience pin in the trunk putting an end to this enigma.
Abandoned farm
- Location : North-west of Les Herses, near the Old House of the Hills shelter
- How to access it: Destroy the tree present after the narrow passage then sneak under the fallen tree
As soon as you enter the area, Antea is blocked by Ghostbusters. Move forward then head towards the first building on your left to find the first one. Now move towards the main barn and destroy the second one which is to its right. Return to the big one and look up to notice the last Ghostbusters on the front.
Once Antea is freed, return to the entrance to the area and destroy the rocks on the left side. Go to the house at the far end and go upstairs. Open the heart of the insidious ivy and destroy the wisp which is right next to you before looking through the small opening on the left and aim the rifle at the wisp present outside. Quickly go back down to the ground floor of the house to destroy the last wisp.
Now come out of the hut and reach the other end of the area, to the southeast. To be able to destroy the next insidious ivy, you will have to push the cart with a will-o'-the-wisp against the pile of wood all the way. To do this, destroy the wall of rocks using Antea then push the cart. At the end of the path, turn around to find the Heart of the Insidious Ivy and open it. Four roots await you here. Two just to your right and two more to the west on the side of a house and the last one under an awning near the main barn.
Advertisement
This barn is also now accessible. Enter it and continue to the left until you reach a rock wall. Before going down, look down and destroy a Ghostbuster then go down. Go left once down in a cave and destroy the rocks waiting for you on the right. Sneak around to come out on the other side then open the heart of the insidious ivy found there. All you have to do is shoot the two will-o'-the-wisps in front of you (don't forget the one at the very back behind the heart of the ivy) then another above you before turning towards the back wall and destroying the last one. .
Finally, climb the wall that has just been cleared to find one last Ghostbuster. Go back down and break the tree trunk with Antea to reach the back of a barn on which there is a last insidious ivy heart. The roots are located high up, on the right and near the wall climbed a little earlier (on the left of the heart of the insidious ivy). Once this is done, you can go up and progress in the barn until the last floor where a chest awaits you containing theban ring Happy days.
The pavement
- Location : South-west of Les Herses, near the beach and the boat slip shelter.
- How to access it: From the boat slip shelter, exit at the bottom of the wreck towards the west to access a cave.
Although the wreck is only located further away, to reach it you will have to go through a cave filled with fog. Go down into the fog and go to the right of the cave to enter a cave at the bottom where there are specters. Once on the ground, come out at the bottom on the left and a little further on, you will find two fasteners to destroy. Then go back down to return to the entrance of the cave then go to the right to find further on some attachments for a ramp to destroy to access the source of the fog. Then pass through an opening leading outside then reach a wall that you will have to go down before taking control of Antea again for a second fog zone.
Go left and go around the boat to find an access area. Once in the wreckage, turn right and destroy the source of the fog before eliminating a few specters. Go back outside the wreckage to notice a ladder on the right. Go under the beams on the right and pull on the clip that you will see on the left. Return near the entrance to the ship and go through the narrow opening directly in front of you. Continue straight and pull the ties visible through the beams again.
Go back a little and exit the ship through the northwest side to find a new tether to the right allowing you to climb onto the upper deck of the ship. Once at the top, fight a few wraiths then move southwest to find a final attachment below. This opens a hatch allowing you to go down and find the chest containing theTraveler amulet. To simply leave the area, look west to spot a jump point taking you back to before the cave.
Ice Cave
- Location : Northwest of Fort Jericho and east of Bligh Manor, near the Bligh Domain shelter
- How to access it: Before going up to the Bligh manor, turn right and destroy an insidious ivy then some rocks further on. Walk along the wall and continue down a little further. This time climb a wall to the west and destroy the ice blocking access to the Haunted Land.
When you arrive in the Ice Cave, head northeast and use Antea's powers at the top of the slope to make a giant stalactite fall. Then return to the bottom of the Cave and use the stalactite to climb one floor above. Go straight ahead and even to the very end of the passage you see to reach a high ledge. Walk along the wall on the right and destroy the rocks that you will see just below.
Then go back to see an insidious ivy heart to open. You will have to shoot the wisps located above but also below you before returning to the previous room to reach the third wisps, all to destroy the ivy. Once this is done, return to the main room using a rope that you hang on the edge of the precipice and head back towards the stalactite.
This time, don't enter the back passage but locate the passage just above. At the end is a stalactite to destroy then turn around. Go opposite to pass through an opening on the right leading you to follow a wall leading ultimately in front of a third stalactite to destroy. Then go down and turn right now that the path is accessible. At the end is a third insidious ivy.
Open his heart then look towards the main Cavern to find a wisp below, a second one at the top left then return to the location of the previous stalactite to find a third wisp above. This done, head towards the passage where you destroyed the second stalactite then jump opposite to find the last wisp at the bottom. That's it, you can now access the chest via the jump point visible from the entrance to the Cave. You will leave with a new ban ring appointed Ring of Antikythera.
Follow our other guides and useful information by going directly to our Complete Guide to Banishers: Ghosts of New Eden.